Let’s be honest sourdough baking is equal parts therapy and mild insanity. You feed a jar of goo for days, obsess over bubbles, and whisper prayers to the oven gods. But what if I told you that baking two loaves instead of one isn’t just practical it’s liberating? Maybe you’re meal-prepping for the week, sharing with a neighbor, or (let’s face it) hedging your bets in case one loaf turns into a frisbee.
“Double sourdough” can mean two things: doubling the recipe to make two loaves or doubling down on fermentation for extra flavor. Here, we’re talking quantity, not complexity. Think of it as sourdough’s “buy one, get one free” deal but with more flour under your fingernails.
Ingredients & Scaling: Because Math Can Be Delicious
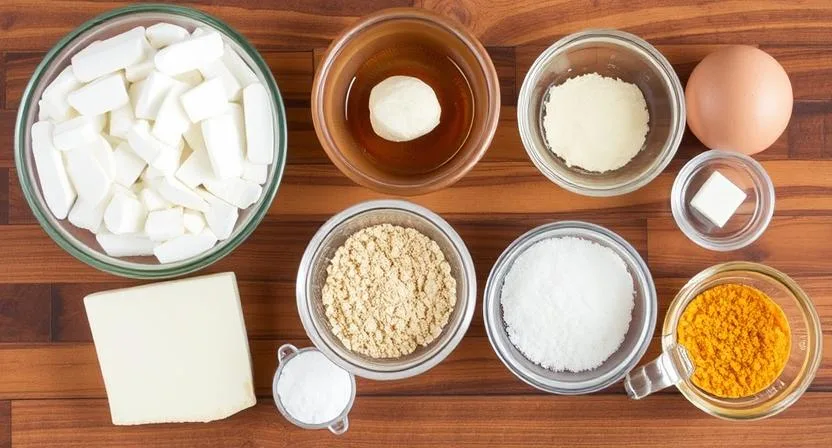
Ingredients for Two Loaves
Here’s the truth: Sourdough scales like a dream. For two loaves, you’ll need:
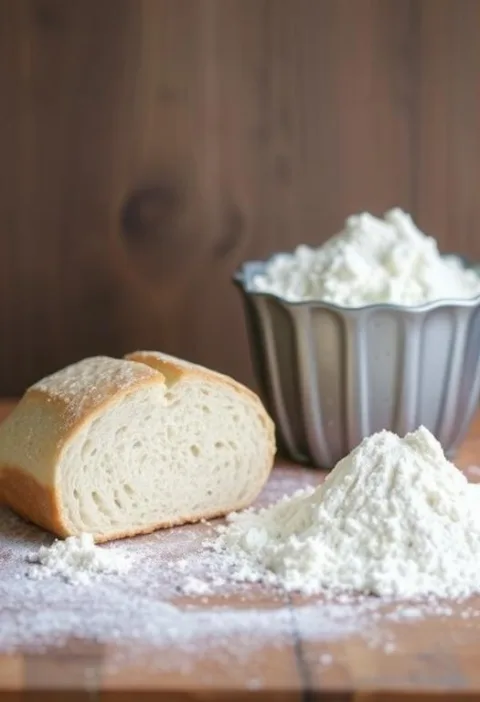
- 1,000g flour (bread flour or a mix of bread and whole wheat).
- 700g water (adjust +/- 20g based on your flour’s thirst level).
- 200g active sourdough starter (the bubbly, peak-hour version).
- 20g salt (sea salt, Himalayan, or whatever’s in your pantry).
Wait, why grams? Because cups lie. Flour settles, humidity messes with volume, and sourdough is a diva that demands precision. A $10 kitchen scale is your best friend here.
Optional Add-Ins: Get Creative
Split the dough and customize:
- Loaf 1: Fold in sun-dried tomatoes and basil.
- Loaf 2: Add toasted sesame seeds and a sprinkle of chili flakes.
You’re not just baking bread you’re curating an experience.
Essential Tools In Making Of Double Sourdough Bread: Keep It Simple
Must-Have Gear
- Two bannetons (proofing baskets): Or use mixing bowls lined with floured tea towels. No one’s judging.
- A big mixing bowl: Your dough will double in size, so give it room to party.
- Two Dutch ovens: If you only have one, bake the loaves back-to-back. The second loaf can wait in the fridge.
“Nice-to-Haves” (But Seriously, Don’t Stress)
- Dough scraper: Helps divide the dough evenly. Or use a butter knife.
- Second lame (scoring blade): Or a razor blade taped to a chopstick. #MacGyverBaking
Step-by-Step Process: Two Loaves, One Happy Mess
Preparing the Starter
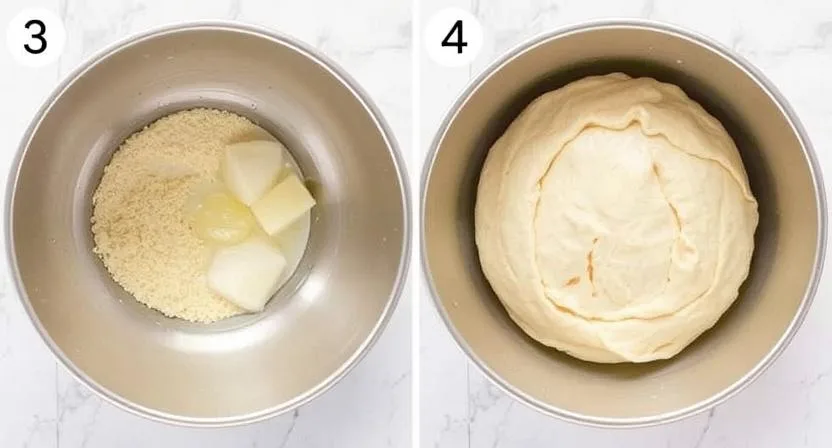
Feed your starter 6–8 hours before baking. Need double the starter? Double the feed:
- Mix 50g starter + 100g water + 100g flour. Let it rise until bubbly and floating in water.
Pro tip: If your starter’s sluggish, add a teaspoon of rye flour. It’s like sourdough espresso.
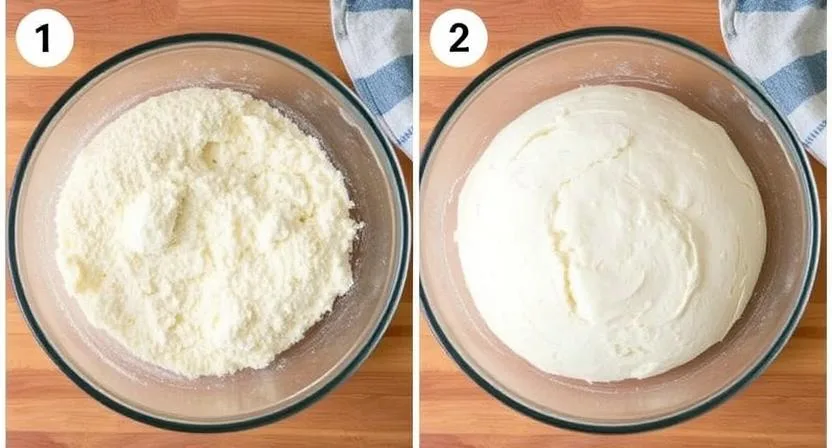
Mixing and Autolyse
- Combine flour and water in your largest bowl. Mix until no dry bits remain.
- Autolyze: Let it rest for 30–60 minutes. This is when the flour hydrates and gluten starts forming on its own. Use this time to clean up… or nap.
Bulk Fermentation
- Add starter and salt. Squish it all together like you’re kneading a stress ball.
- Stretch and fold: Every 30 minutes, grab one side of the dough, stretch it up, and fold it over. Rotate the bowl. Do this 4–6 times.
- Let the dough rise until 50–75% bigger. In a warm kitchen (~75°F), this takes 4–6 hours.
Confession: I’ve forgotten folds and still got decent bread. Perfection is overrated.
Dividing and Pre-Shaping
- Dump the dough onto a floured surface. Use a scale to divide it into two equal blobs.
- Pre-shape: Gently form each piece into a round. Let rest 20 minutes. This relaxes the gluten, making final shaping easier.
Final Shaping
- Flour your hands. Flip each round upside down.
- Fold the sides into the center, then roll it into a tight boule or oval batard.
- Place seam-side up in floured bannetons.
Note: If the dough sticks, curse mildly and add more flour next time.
Cold Proofing
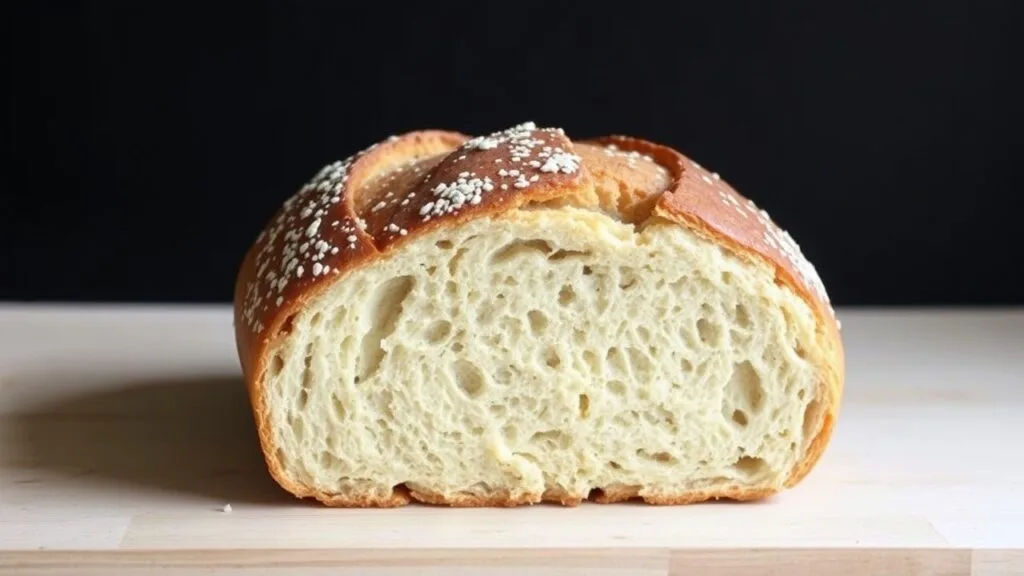
Cover with a shower cap (yes, really) and refrigerate for 12–24 hours. This slow fermentation deepens the flavor and makes the dough easier to handle.
Alternative: If you’re impatient, proof at room temp for 2–4 hours. But cold-proofed bread tastes better. Trust me.
Baking Day
- Preheat: Oven to 450°F with Dutch ovens inside for 1 hour.
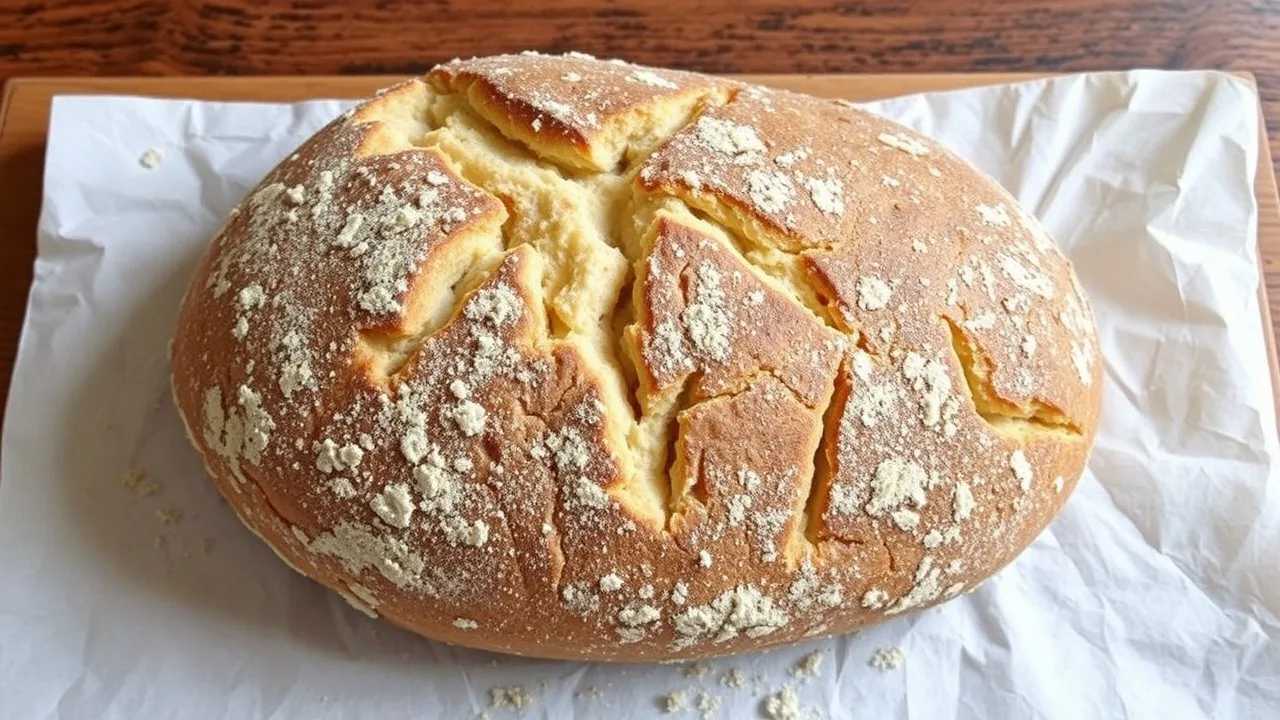
- Score: Turn dough onto parchment paper. Slash the top with your lame or a serrated knife.
- Bake:
- First loaf: 20 minutes covered, 25 minutes uncovered.
- Second loaf: While the first bakes, keep it in the fridge. Repeat.
No Dutch oven? Use a baking sheet and a metal bowl to trap steam.
Troubleshooting: When Life Gives You Dense Bread
Uneven Loaves
- Why? Uneven division or shaping.
- Fix: Use a scale. If one loaf is smaller, call it the “tasting preview.”
Flat Second Loaf
- Why? Over proofed while waiting its turn.
- Fix: Shape the second loaf last-minute or shorten bulk fermentation.
Burnt Bottoms
- Why? Dutch ovens hold crazy heat.
- Fix: Place a baking sheet on the rack below to diffuse heat.
“Help, My Dough’s a Sticky Monster!”
- Why? High hydration or warm kitchen.
- Fix: Wet your hands instead of flouring them. Or embrace the mess sticky dough makes great ciabatta.
Variations In Double Sourdough Bread: Two Loaves, Endless Possibilities
Flavor Twins
- Loaf 1: Cheddar and chives.
- Loaf 2: Honey and walnuts.
Flour Experiments
- Loaf 1: 100% bread flour (for sandwich perfection).
- Loaf 2: 30% spelt flour (nutty and tender).
Scoring Swagger
- Loaf 1: Classic wheat stalk.
- Loaf 2: Geometric slashes.
FAQs: Real Questions from Panicked Bakers
“Can I Freeze Sourdough?”
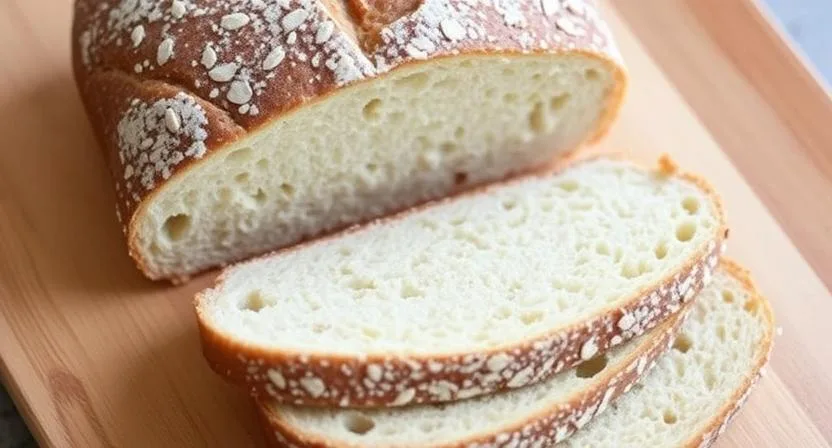
Yes! Slice it first. Toast frozen slices straight from the freezer they’ll taste fresh.
“Why Is My Bread Gummy?”
You sliced it too soon. Let it cool for 2+ hours. I know, it’s torture.
“Can I Halve This Recipe Later?”
Absolutely. Just reduce bulk fermentation time smaller dough ferments faster.
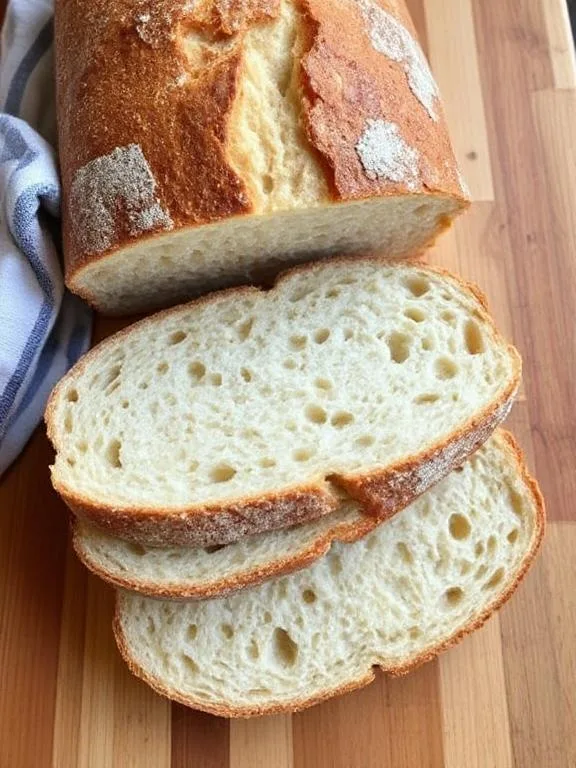
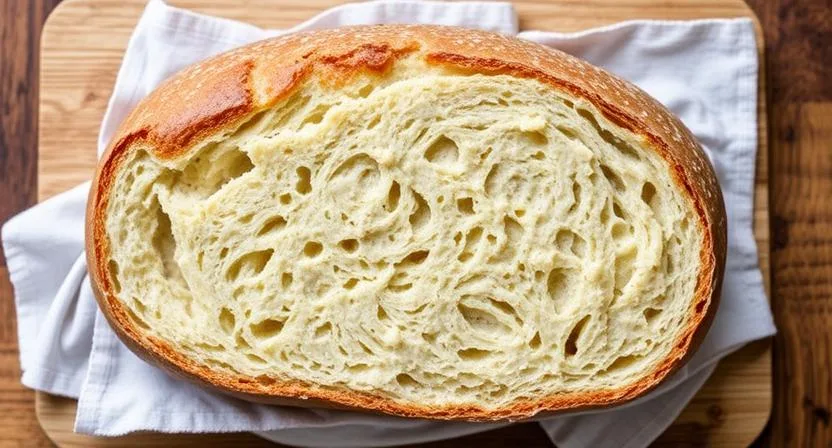
Conclusion: Two Loaves, Twice the Joy
Baking two loaves isn’t just practical it’s permission to play. Burn one? No biggie you’ve got a backup. Share one with a friend, and suddenly you’re the “sourdough guru” they never knew they needed.
Remember, sourdough is a living thing. Some days it’ll rise like a champ; other days, it’ll test your patience. But every loaf lopsided or lovely is a tiny triumph.
Bonus Gifting Tip: Tie a ribbon around your extra loaf and include a note: “Warning: May cause carb addiction.”